


Plugin Installation
After purchasing, you can easily access and download the plugin via your user account on our website. Simply navigate to the ‘Downloads’ section within ‘My Account’ by clicking on the following link: My Account.
To install the plugin on your WordPress instance, follow these steps:
- Begin by logging in as the administrator to access the Dashboard interface.
- In the Dashboard, navigate to ‘Plugins’ and then click on ‘Add New.’
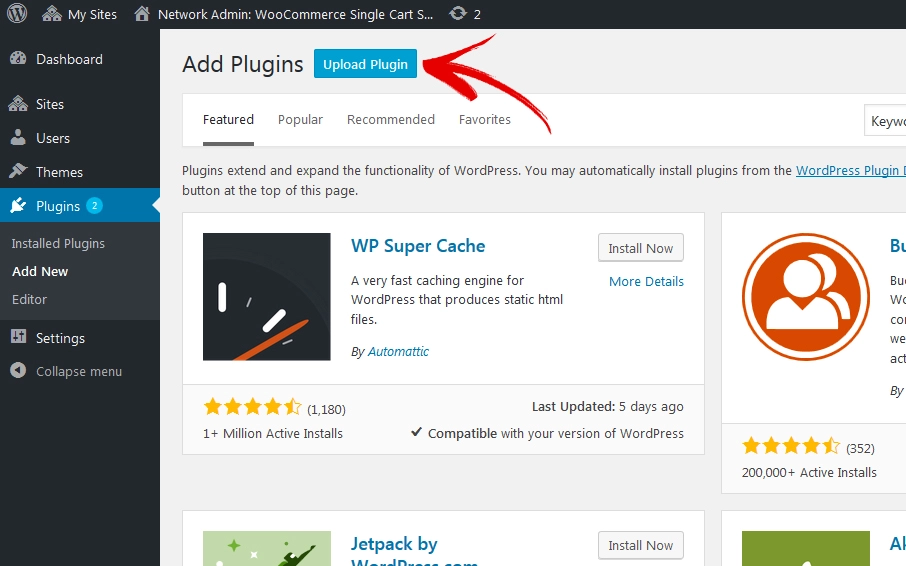
- Select ‘Upload Plugin,’ and then click ‘Browse’ to locate the plugin archive that you previously saved on your computer.
- After selecting the plugin archive, click ‘Install’ and proceed to ‘Activate’ it.
Repeat the above procedure for all WordPress instances, which are required to use the provided features.
As an alternative method, you can also upload the plugin to your server through FTP (File Transfer Protocol). Here’s how:
- Connect to your server using your preferred FTP client.
- Navigate to the directory where WordPress is installed on your server.
- Locate the ‘wp-content/plugins’ directory.
- Upload the extracted plugin folder into the ‘plugins’ directory on your server.
- Once the upload is complete, return to your WordPress admin dashboard.
- Activate the plugin for the desired site from the ‘Plugins’ section.
By following these steps, you can seamlessly install and activate the plugin either through the WordPress interface or via FTP, depending on your preference and server setup.
No Comments